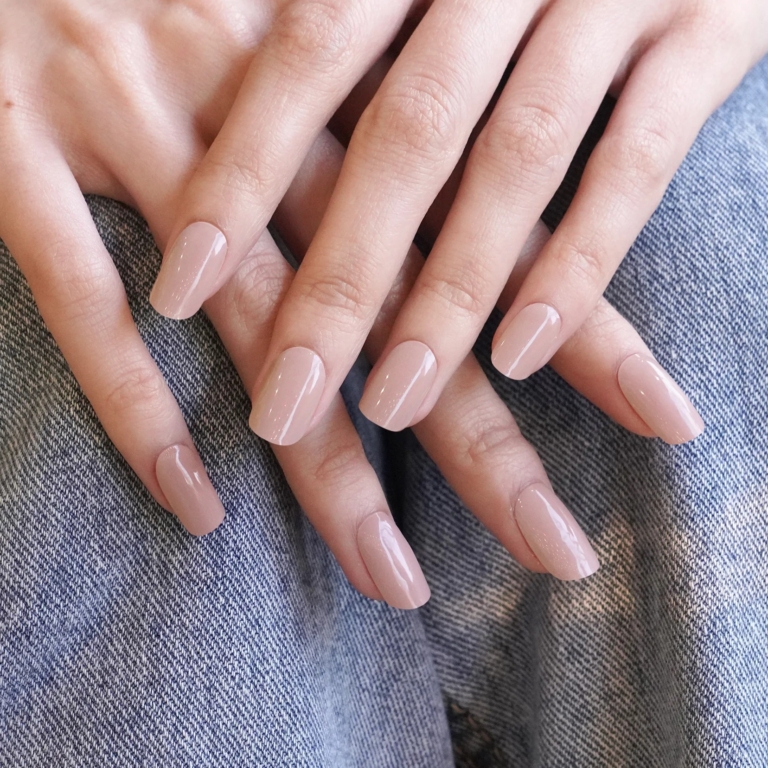
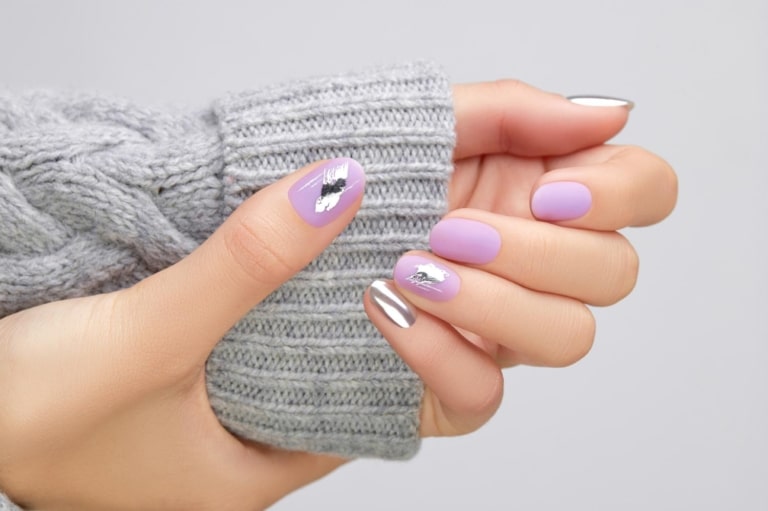
Nail extensions are a way to enhance the look of your hands and a process that requires precision and attention to detail. When this procedure is performed correctly, the result can impress with its aesthetics and durability. An unsuccessful extension often leads to damage to the natural nail, peeling or even injuries. Therefore, it is important to know how to make nails and how to grow nails. In this article, you will find only useful tips and step-by-step instructions that will help you perform the extension flawlessly.
Preparation for nail extensions
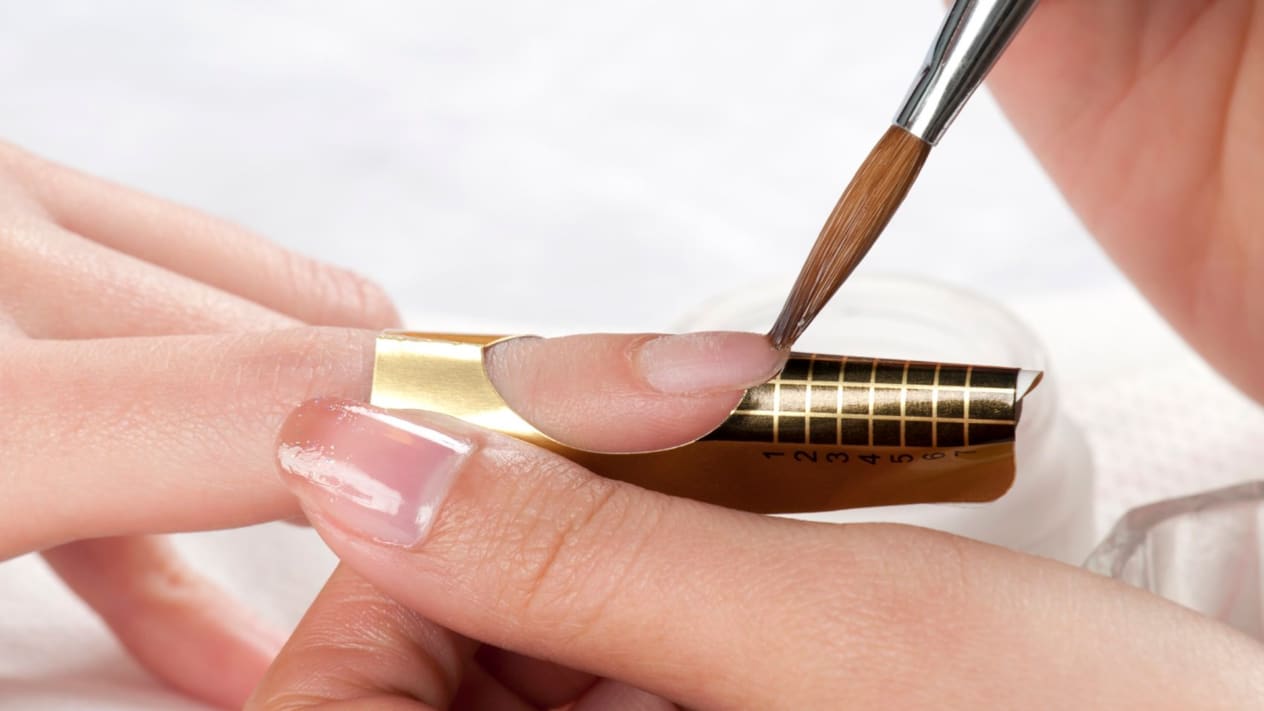
Like any complex business, nail extensions begin with proper preparation. This stage should not be underestimated – it determines how high-quality the result will be. Before getting down to the tools, make sure you have everything you need: gel or acrylic, modeling molds, degreasers and, of course, a polymerization lamp if you choose the gel technique.
The most important point in preparation is defatting. Even if the nails look perfectly clean, natural oils still remain on the surface and can ruin the whole process. Proper degreasing ensures better adhesion of materials to the nail and prevents peeling.
The surface of the nail should be smooth and slightly rough. This is where the buff comes to the rescue. Its light movements will help remove the natural shine and prepare the nail for applying gel or acrylic.
Technique: gel and acrylic extensions
There are two main types of extensions: gel and acrylic. Both have their own features and benefits, so it all comes down to what works best for you.
Gel nails look more natural due to their elasticity. After application, the gel hardens under a special lamp. This is a great option if you want to achieve a light, sheer finish. However, to work with it, you need to have patience, because each layer needs polymerization.
Acrylic extension, on the contrary, hardens in air. It has a harder texture and if you like hard nails, this option might be better. Acrylic hardens quickly, so it is important to work quickly and confidently so that the material does not lose its properties.
Each of these techniques has its advantages, and the choice between them depends on your preferences and experience.
The build-up process
After preparing the nails, it’s time to proceed to the extension process itself. First of all, we choose forms for modeling – they will help create the desired length and shape of nails. If you do gel extensions, each layer must be polymerized in a lamp. This is an important point, because without proper hardening, even the best-made modeling may not last long.
When applying gel or acrylic, it is important to adhere to thin layers – this will not only reduce the risk of cracks, but also allow better control of the shape. After each layer has hardened, it’s time for modeling – at this stage, you shape the desired shape of the nail with a file.
Modeling and polishing

When the material has already been applied, it is time for the most creative and technical stage — modeling the shape of the nails. In our V.O.G DOG NAILS salon, we always pay special attention to the formation of an ideal shape that will emphasize the natural beauty of the client’s hands. The shape of the nails is a very important factor of convenience in everyday life. We take into account all the wishes of the client and work with different styles: from the classic oval to bold almond-shaped or square shapes.

Once the shape is determined, we use a lamp to harden the material. In the case of gel extensions, this step is mandatory. The gel hardens under the influence of ultraviolet or LED rays, which makes nails strong and resistant to external influences.
The final touch is polishing. This process gives the nails a flawless glossy finish and creates the perfect base for further designs or leaves the nail surface elegantly smooth.
Design and correction
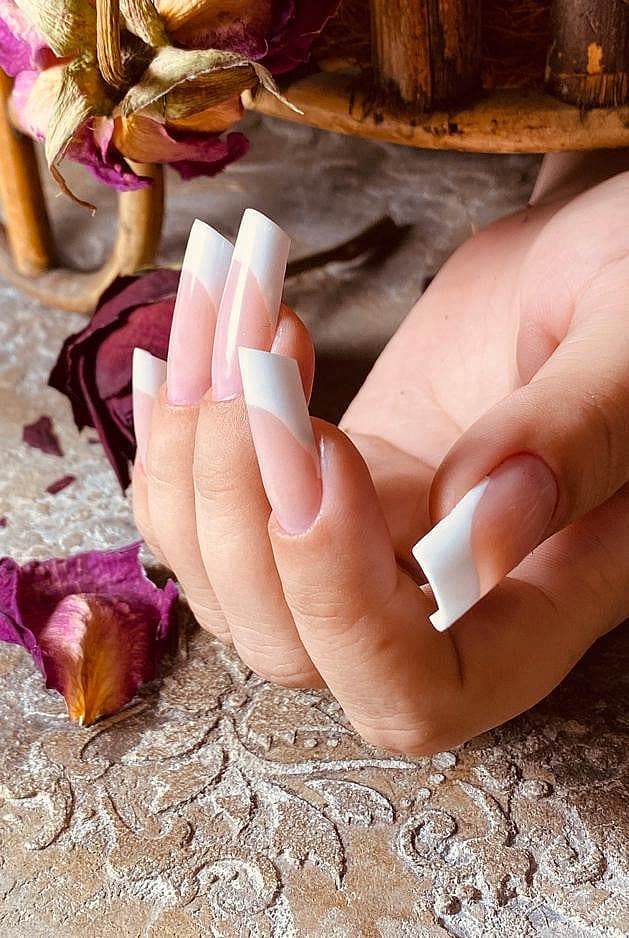
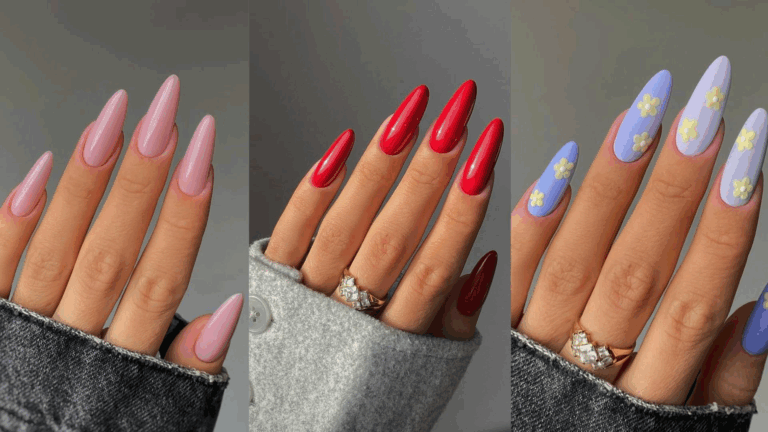
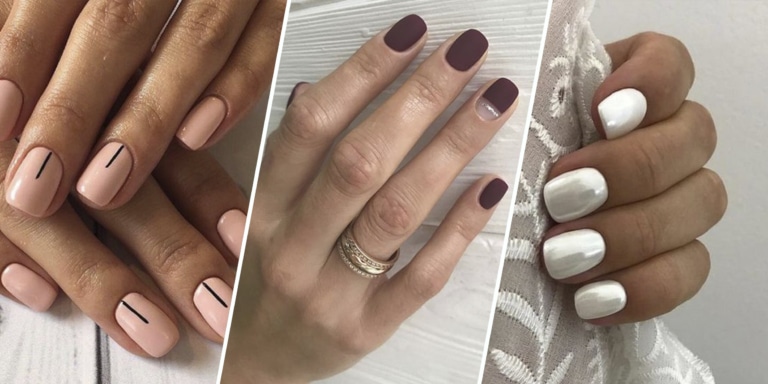
What could be better than perfect nail extensions? Only extended nails with a creative design! At V.O.G DOG NAILS, our masters offer many nail design options to satisfy the most demanding wishes. Do you want a discreet nude shade or saturated graphic designs? Or maybe you like accents in the form of sequins or stones? Regardless of your choice, we’ll help create a design that matches your style and mood.
Don’t forget proofreading either. Even a perfectly executed extension needs care over time. We recommend making a correction every 2-3 weeks. In our salon, the masters will correct any possible defects that occurred during wear and update the design so that your nails always look fresh and stylish. Regular correction is the health of your nails.
Tips and recommendations from our masters
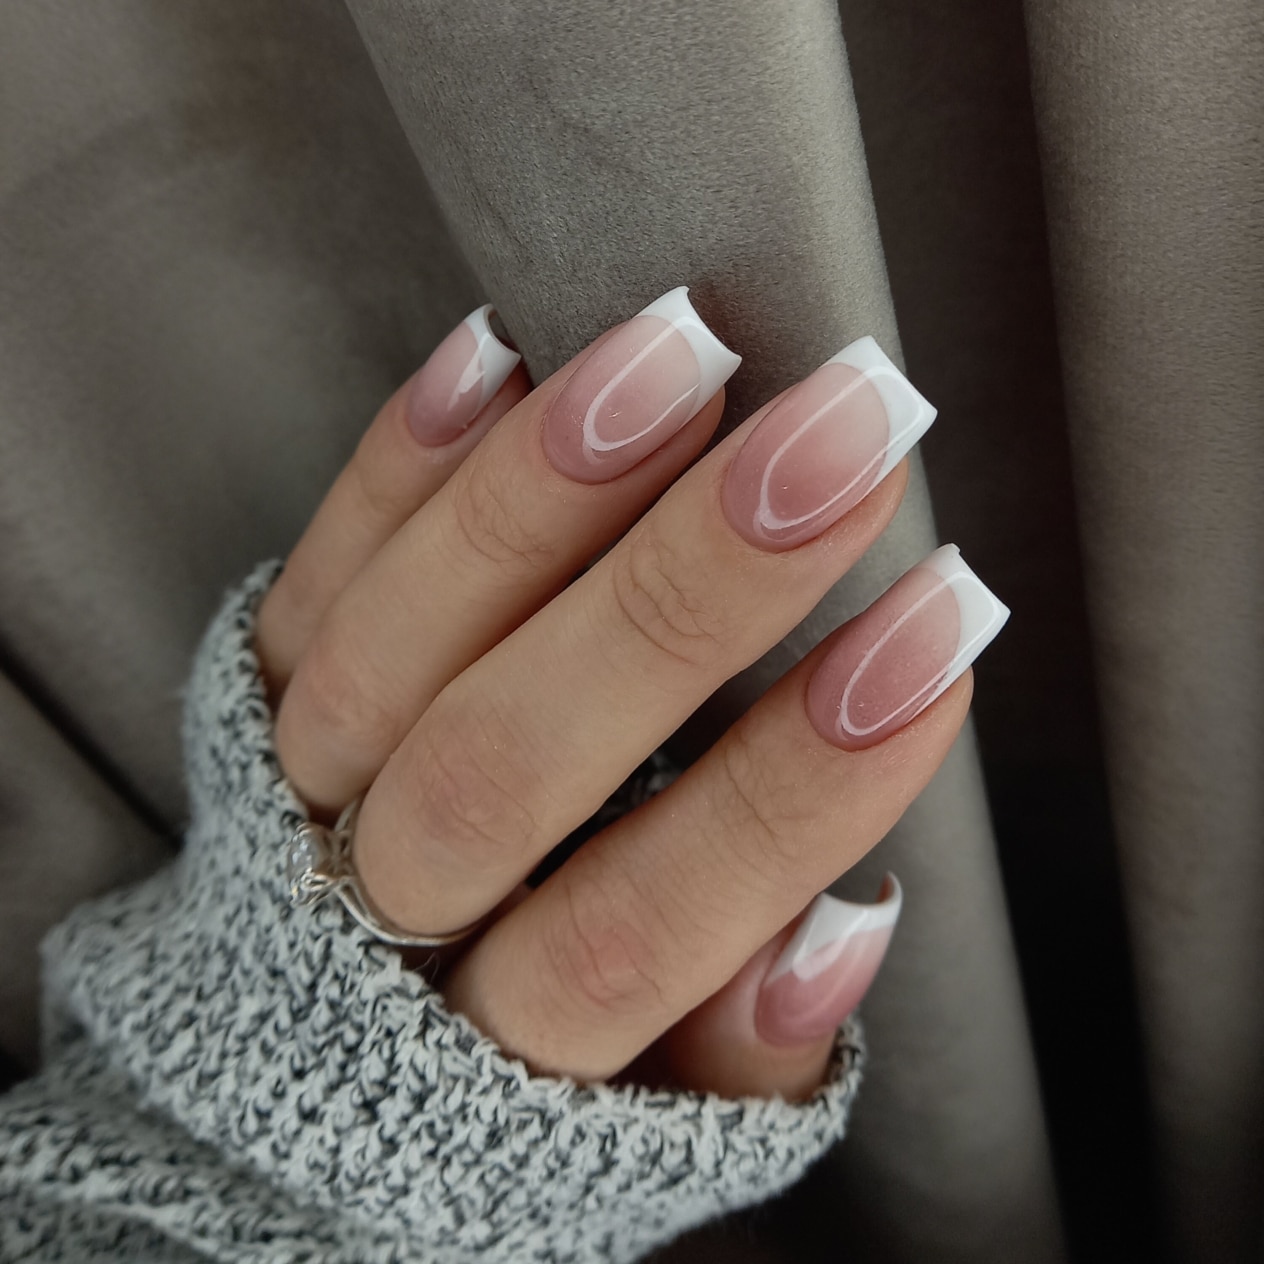
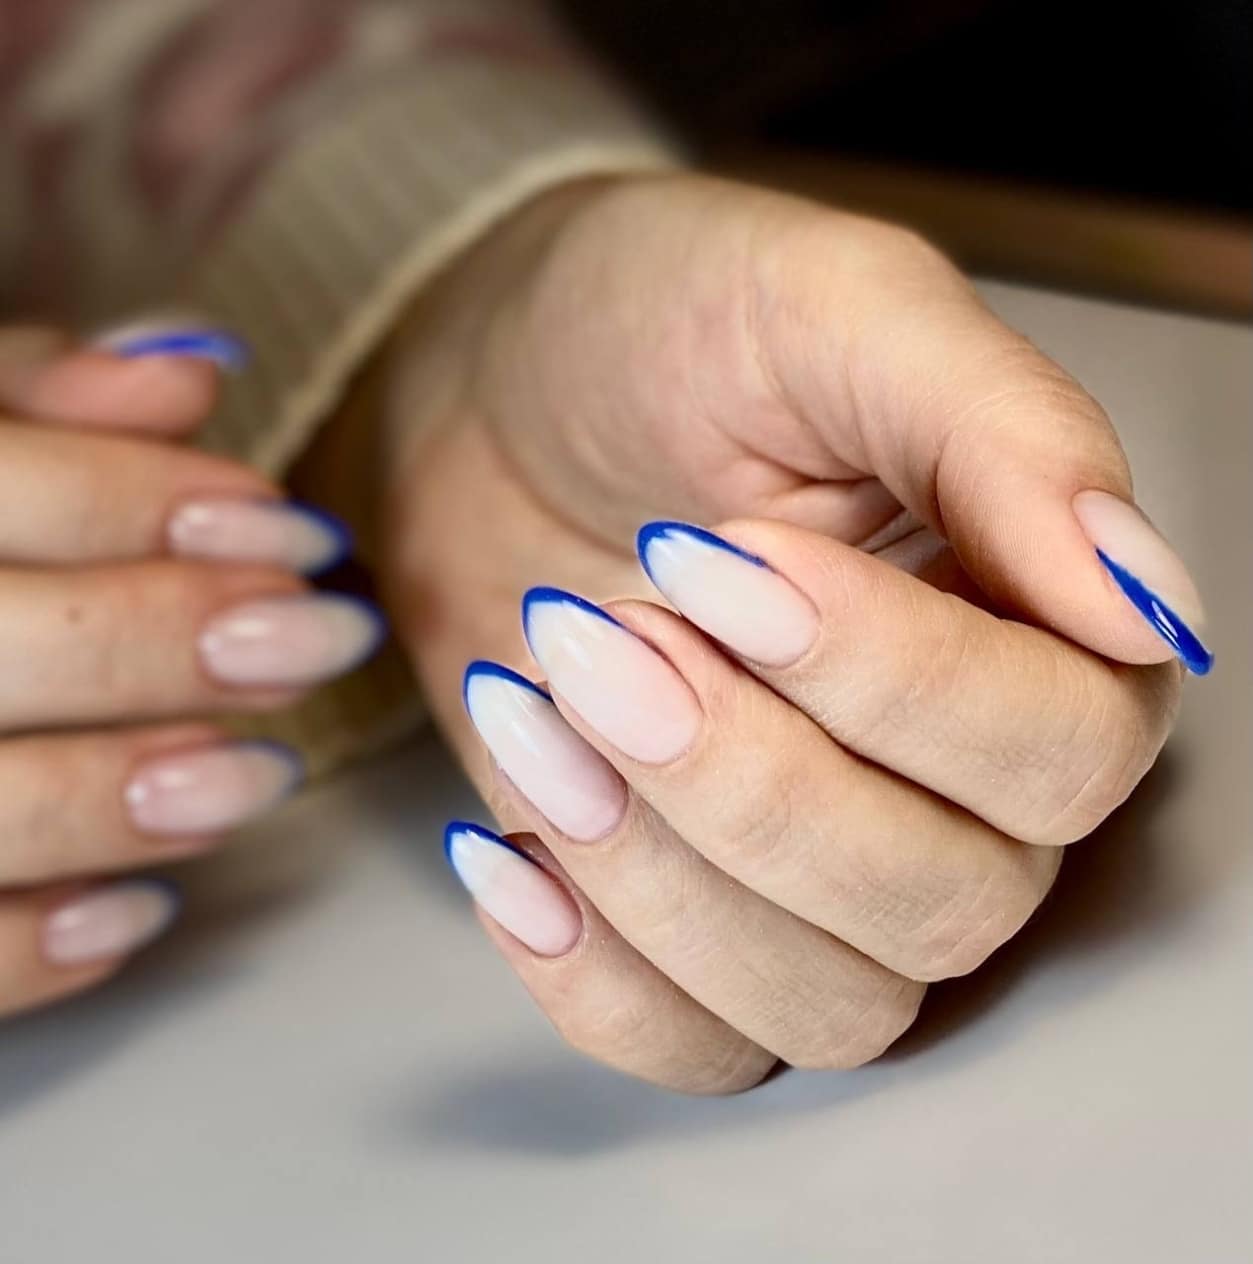


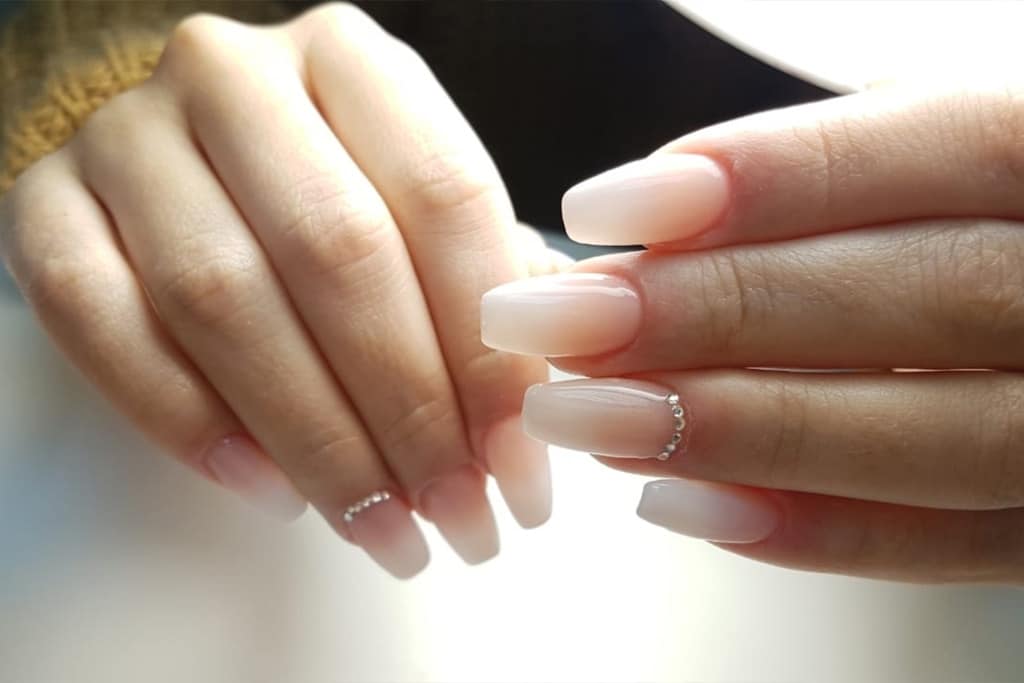
In order for your extended nails to please you for a long time, you should remember a few simple tips that we always recommend to our clients.
First, avoid open contact with aggressive chemicals such as detergents or acetone. These substances can damage the coating or lead to brittle nails. If you work with such substances, do not forget to wear gloves.
Second, it’s important not to use your nails as a tool. Opening packages or pressing hard objects with them is a direct path to damage.
And finally, don’t forget visits to our salon for regular correction and care. We are always ready to provide you with the best advice and professional care to keep your nails strong, healthy and looking great.
At V.O.G DOG NAILS, we create your style and mood!
