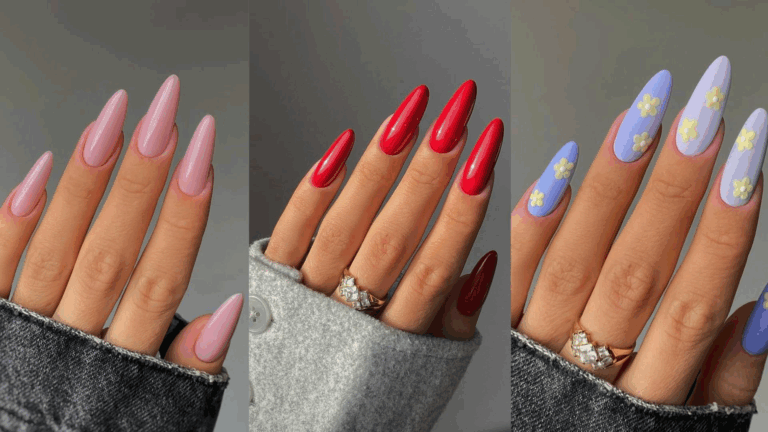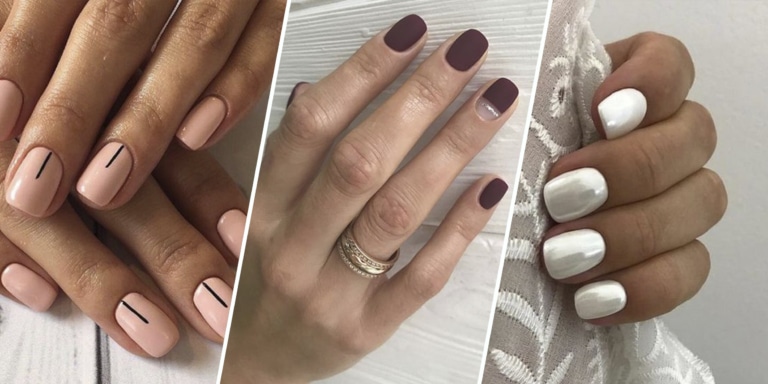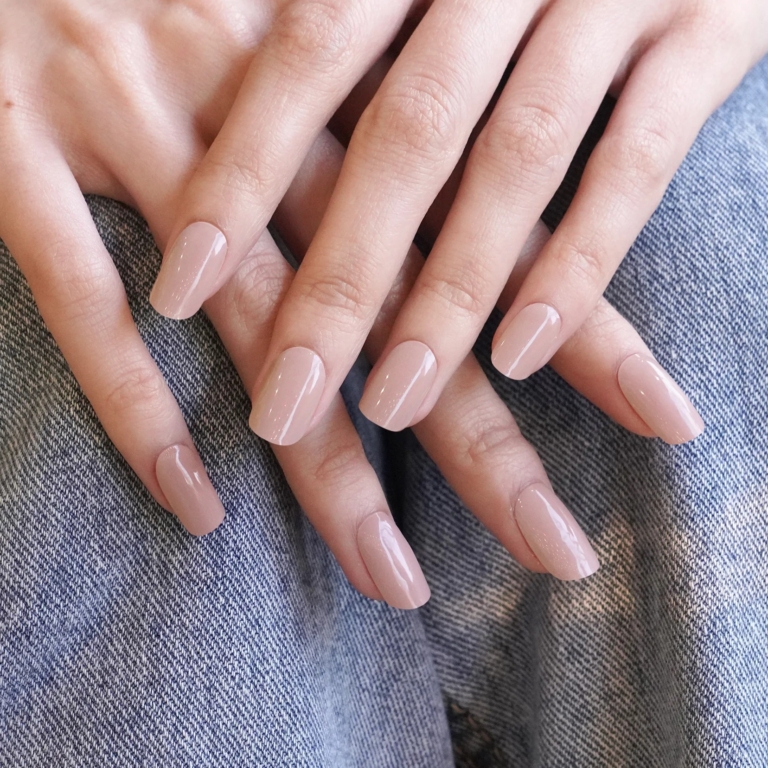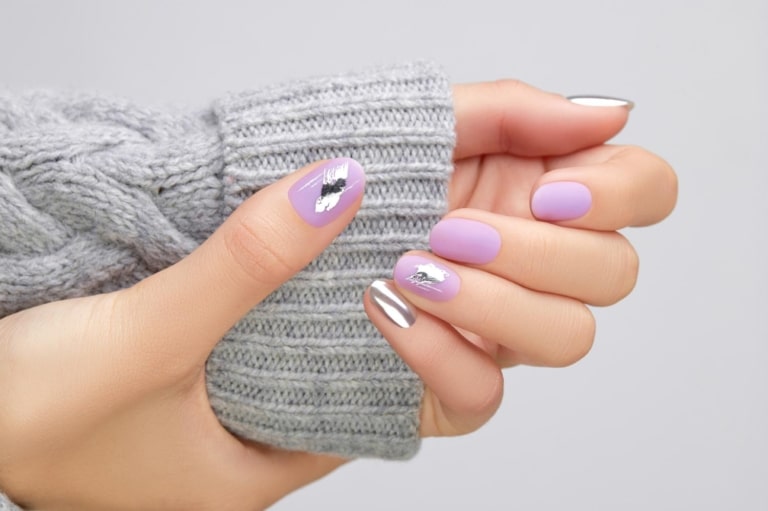
In the modern world, you can see more and more women who choose manicure with gel polish. After all, the fast pace, a large number of responsibilities, work/home forces them to choose quick beauty procedures that will allow them to shine every day and remain well-groomed regardless of the situation.
What is the secret of gel polish?
First, it is practicality. Such a manicure lasts up to three weeks without losing its chic look, that is, long-lasting nail polish.
Secondly, it is aesthetics. Well-groomed hands always inspire more trust during communication. And representatives of thin nails, prone to peeling, can protect them from damage and fragility in just one procedure.
Thirdly, it is a manifestation of your individuality. You can choose a plain manicure, a manicure with a design of any complexity and enjoy the result for a long time.
And most importantly, you can do this procedure both in a beauty salon and on your own. And that’s why today we will talk about how to make a manicure with gel polish and what tools you need to have in your arsenal for a perfect result
Preparation for manicure
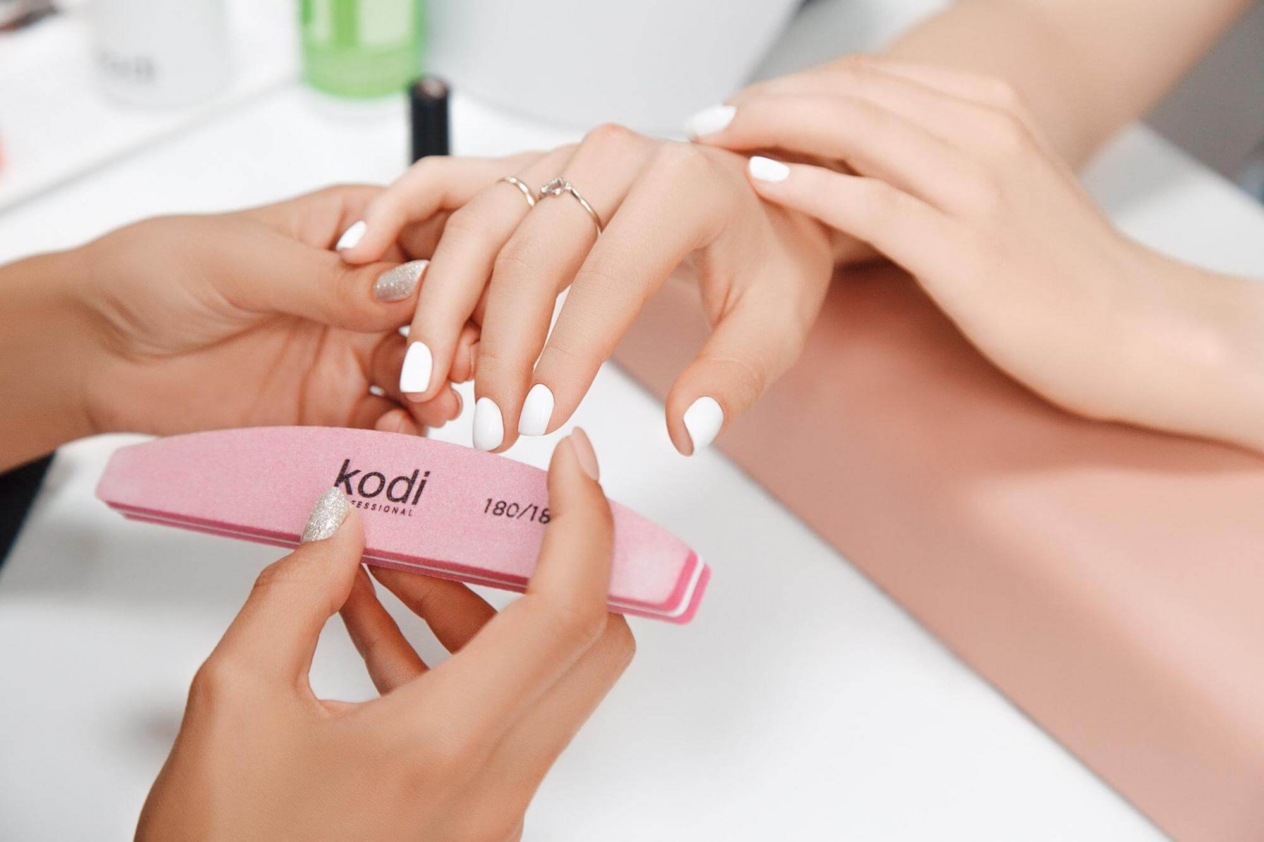

To perform a high-quality manicure, you need to have a certain list of means and tools that will help in this. Below we have shared the main list with minor notes.
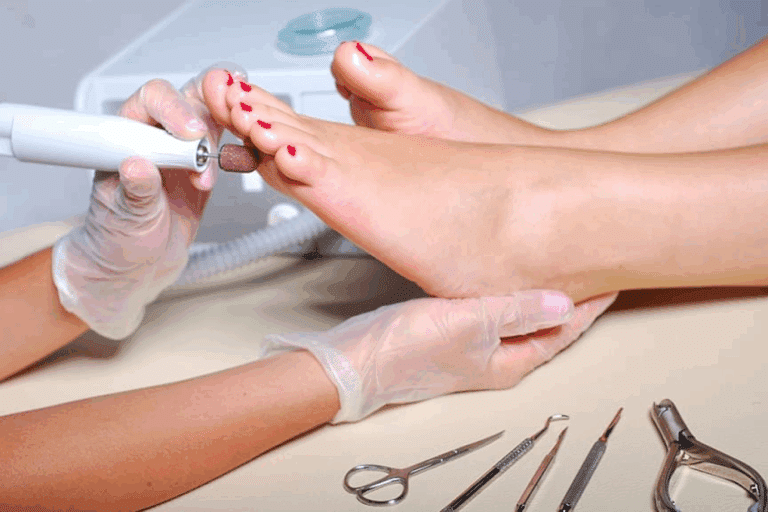
Milling machine with attachments according to the type of nail plate and skin. It will be needed to remove the previous gel polish and perform a hygienic manicure.
Orange sticks or stainless steel pusher. They will help push back the cuticle both for a hygienic manicure and for an ideal coating with gel polish.
Cuticle remover. It will speed up the process and will not affect the quality of wearing gel polish.
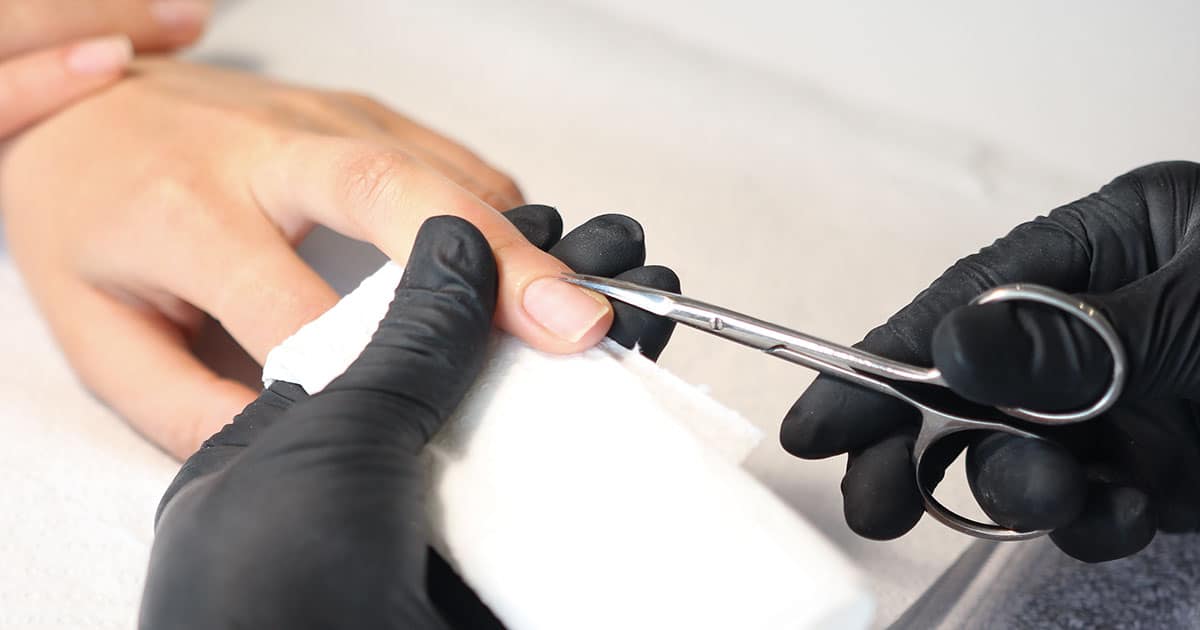
Scissors or nippers for removing the cuticle. Choose the tool that will be more convenient for you. For beginners, you can buy scissors with rounded tips to minimize cuts.
A nail file of appropriate abrasiveness. If you have thin, soft nails, it is better to choose a file with high abrasiveness. This will help give the nails the desired shape and remove the glossy natural coating for subsequent application of varnish.
Buff It will help to level the surface of the nails before coating.
LED lamp. The main tool without which the gel polish manicure will not harden and slide in an unknown direction.
Degreaser for nails. The nail plate itself does not produce oil, but the skin around it does.
Nail primer. Provides better adhesion of the nail plate to the artificial coating.
Lint-free napkins. They perfectly remove the sticky layer, any dirt from the nails without the risk of leaving hairs on them.
Basic coverage. It can be transparent, colored, and helps keep the gel polish on the nails for up to three weeks.
Gel polish. The flight of fantasy is limitless. There is a whole variety of colors and their shades on the market, so choose according to your mood. For beginners, we advise you to choose neutral shades to begin with, because application errors will not be so noticeable.
Top coating. It will give the gel polish a beautiful shine or matte finish and protect it from chipping.
Cuticle oil. The final pleasant stage of the manicure, which moisturizes the skin around the nails.
Step-by-step instructions for applying gel polish: covering nails with gel polish for beginners
Technique and its observance are always important for a good result. The sequence of applying gel polish has been unchanged for many years, so we do not recommend experimenting in this direction. A variety of colors, shapes and designs are available to express your individuality.

Step 1. Removal of old coating and hygienic manicure
To create a perfect image, you should start by removing the old gel polish with the help of a cutter and the appropriate nozzle, and also make a combined manicure. Professionals recommend avoiding classic manicure with soaking hands in baths on the day of gel polish application. This is due to the fact that for a long-lasting result, the nails must be thoroughly dehydrated, and water treatments can significantly reduce the durability of the coating. If you are used to a classic manicure, then do it a few days before doing a manicure with gel polish, and everything will be fine.
Step 2. Preparation of nails
Next, give the nails the desired shape with a file and lightly polish their surface with a buff for better adhesion to the future coating. Removing the natural gloss helps create a surface that will hold the gel perfectly. Do not forget to wipe your nails with a degreaser afterwards.
The final preparatory stage will be the application of a primer, which will ensure a reliable connection of the gel layer with the nail plate.
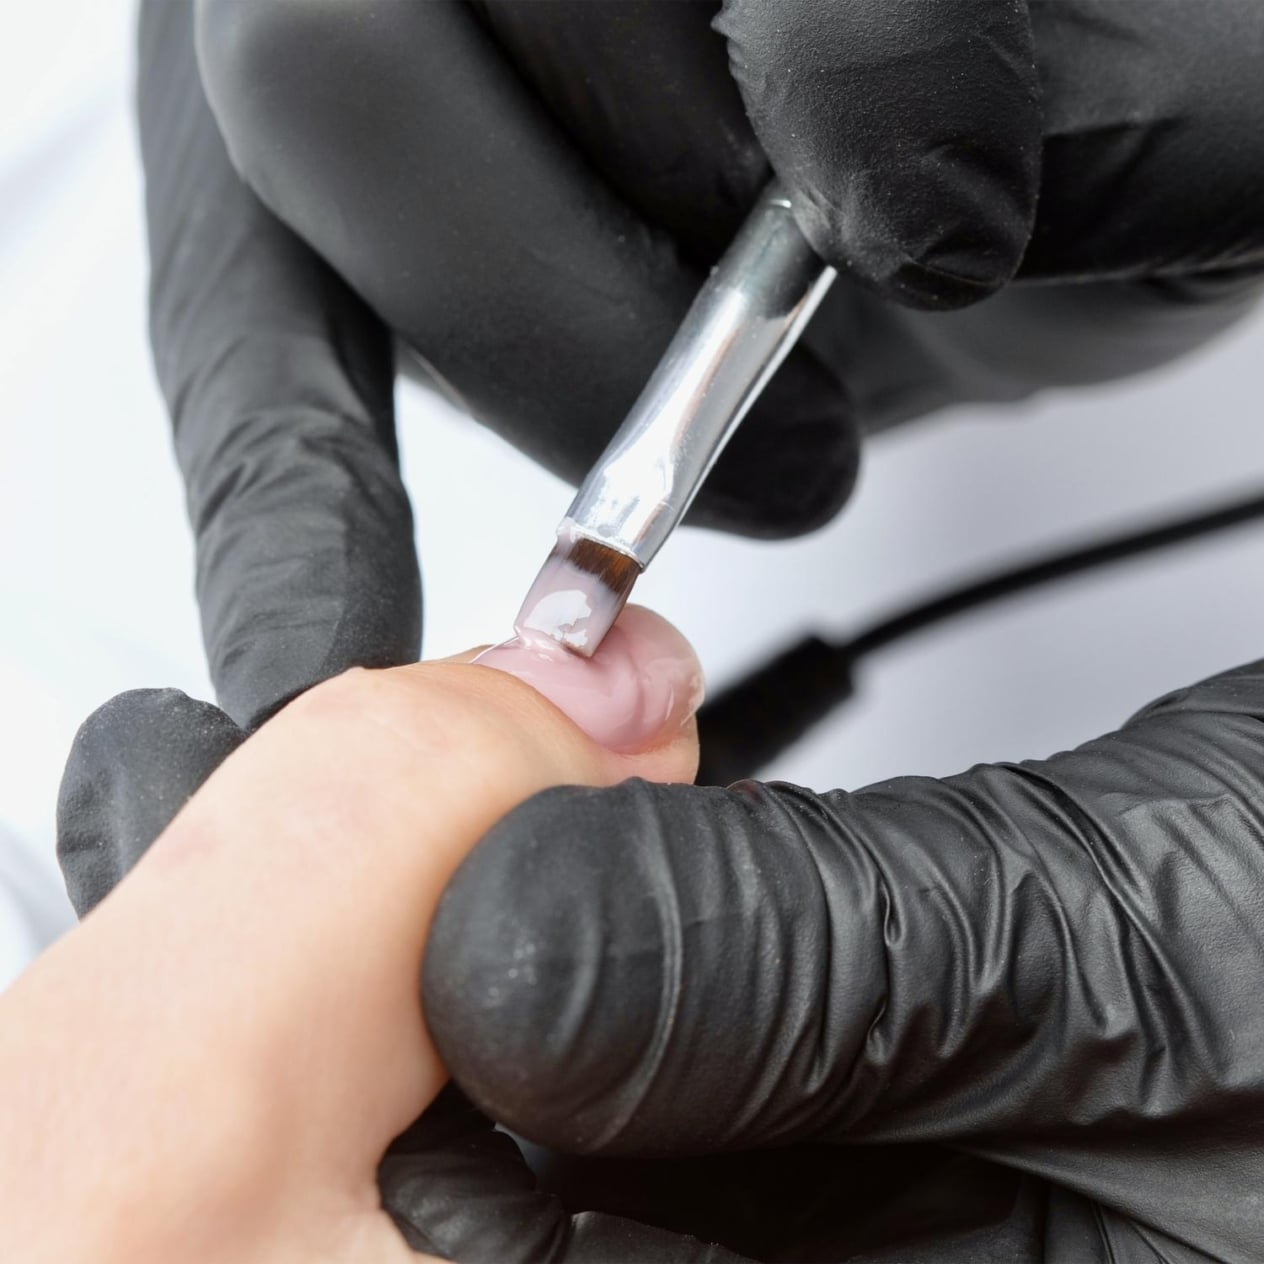
Step 3. Applying the base coat
The base coating prepares the surface of the nail for the application of gel polish, and also protects against the penetration of pigments into the keratin layer of the nail. If you use a regular base, it is enough to apply it in a thin layer, and the rubber base can be applied in a thicker layer to even out the nails and create a nice glossy shine.
After applying the base, hands should be placed in an LED lamp for polymerization. As a rule, 30-60 seconds is enough.

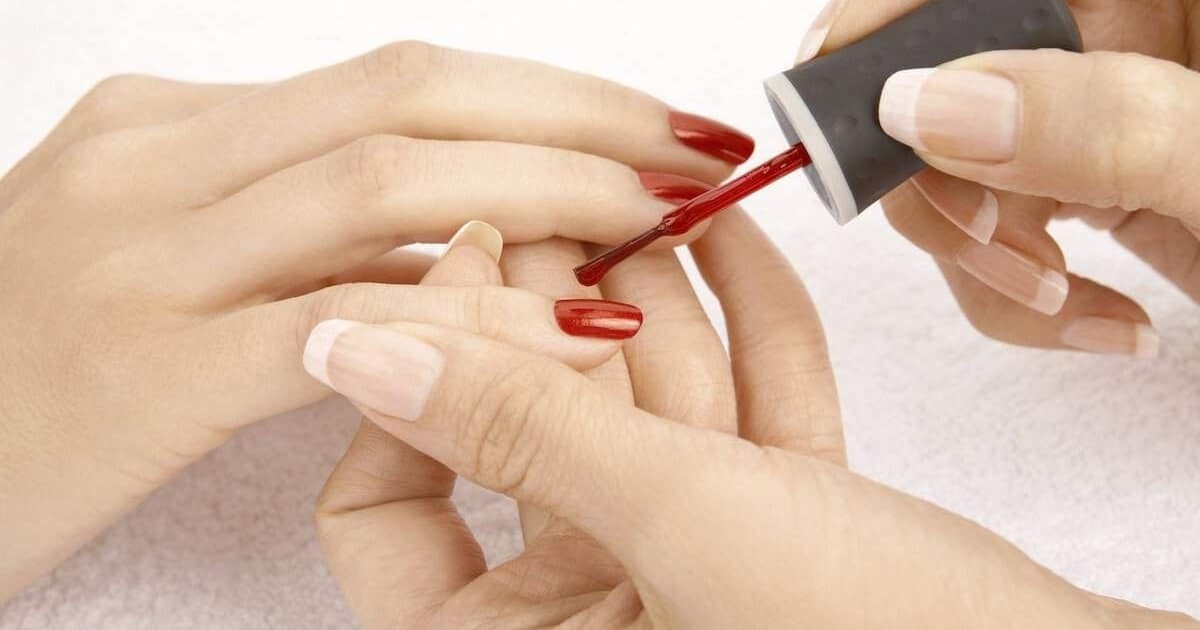
Step 4. Applying gel polish
Now the most interesting part begins – choosing a color. Having found your favorite shade of gel polish, you need to apply it to your nails in a thin layer. How to properly paint nails with gel polish? It is important not to rush to get a beautiful and uniform color. Several thin layers always look smoother and neater than one thick one. It is also worth checking the nails when applying nail polish on the sides, as this is where unpainted areas often remain. You can also try gel polish on short nails for the first time.
After applying the first layer, you need to place your hands under the lamp to fix it, then apply a second layer to make the shade more saturated and fix it again in the lamp. If you like to experiment, you can add another layer or even combine several colors for an original effect.
It should be noted that gel polishes with higher pigmentation already appear on the market today, which makes it possible to achieve excellent coverage from the first layer and speed up the process itself.

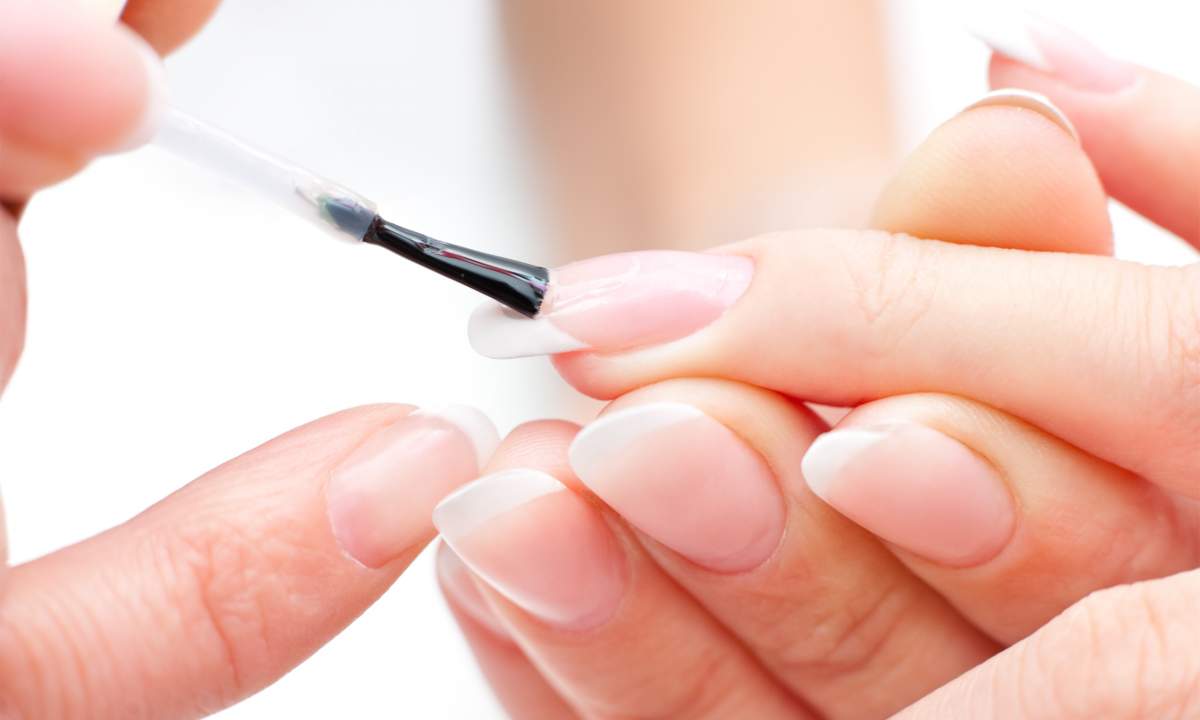
Step 5. Applying a top coat
After the gel polish has completely hardened, it’s time to apply the top coat. This is the final stage that gives the manicure durability for up to three weeks, provides protection against chipping and gives the nails a glossy shine or a matte finish, depending on the chosen top. It should be applied carefully, evenly covering the entire surface of the nail so as not to miss a single corner. After that, gel nails must be placed under the lamp again for 30-60 seconds.
When the topcoat hardens, you need to remove the sticky layer (if there is one). This is done with the help of a lint-free napkin and a special liquid for removing the dispersion finish.
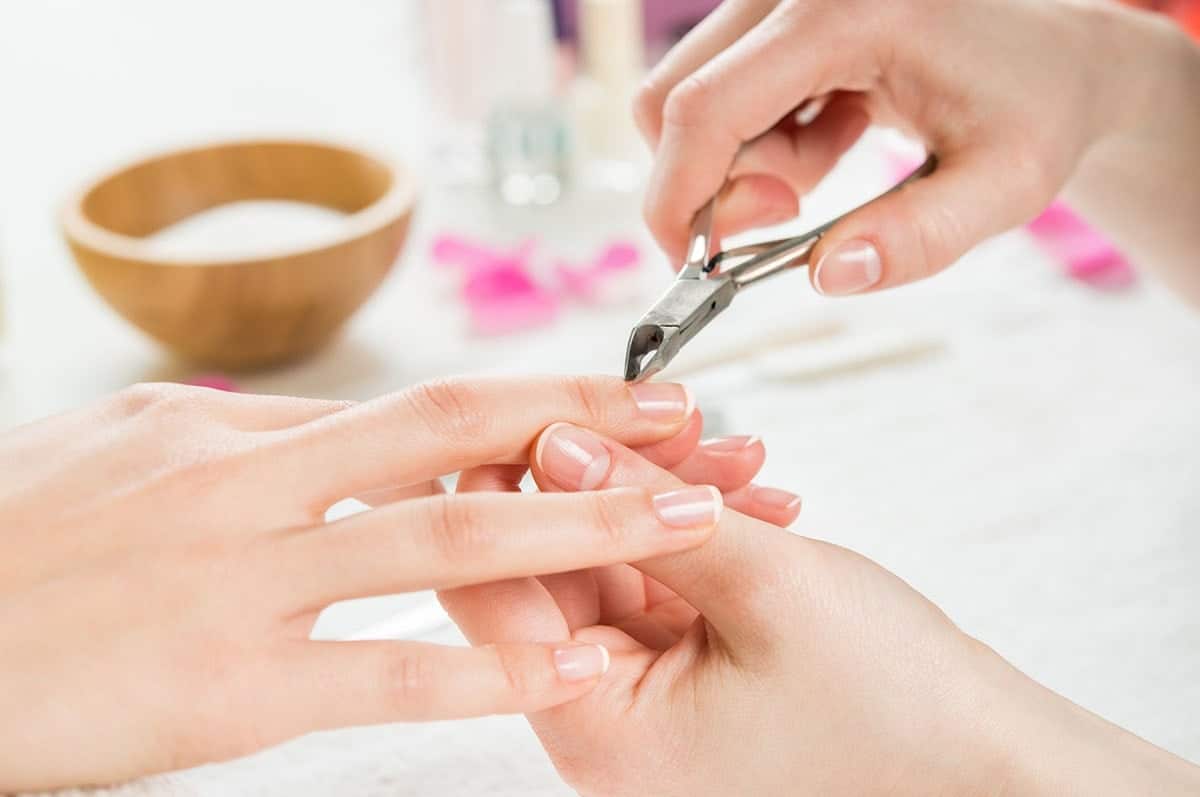
Step 6. Cuticle care
That’s almost all! Now all that’s left is to add a little cuticle oil to keep it looking well-groomed and moisturized.
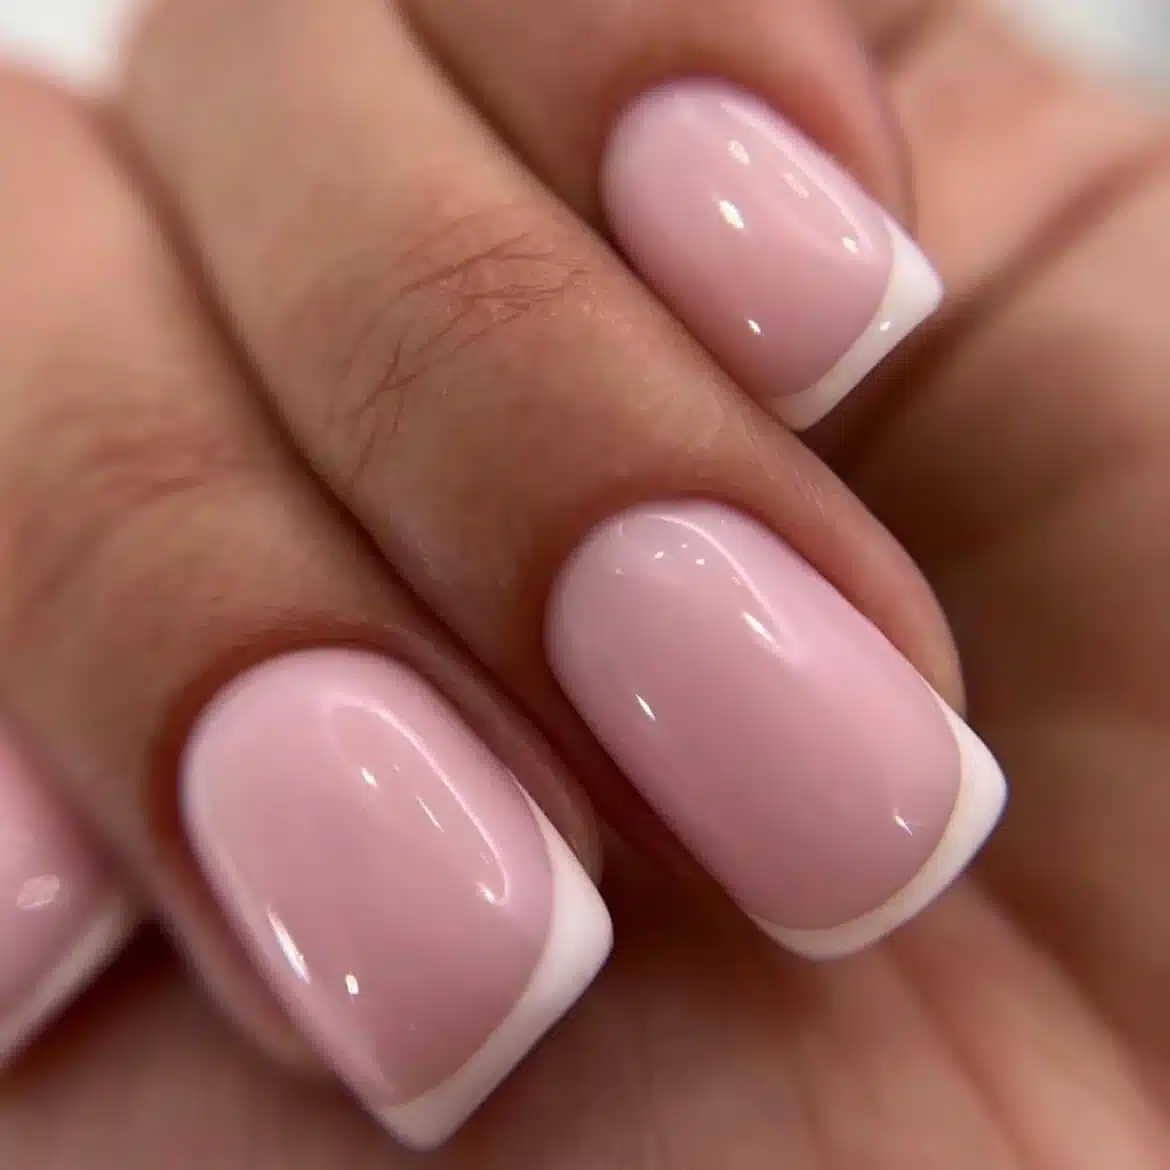
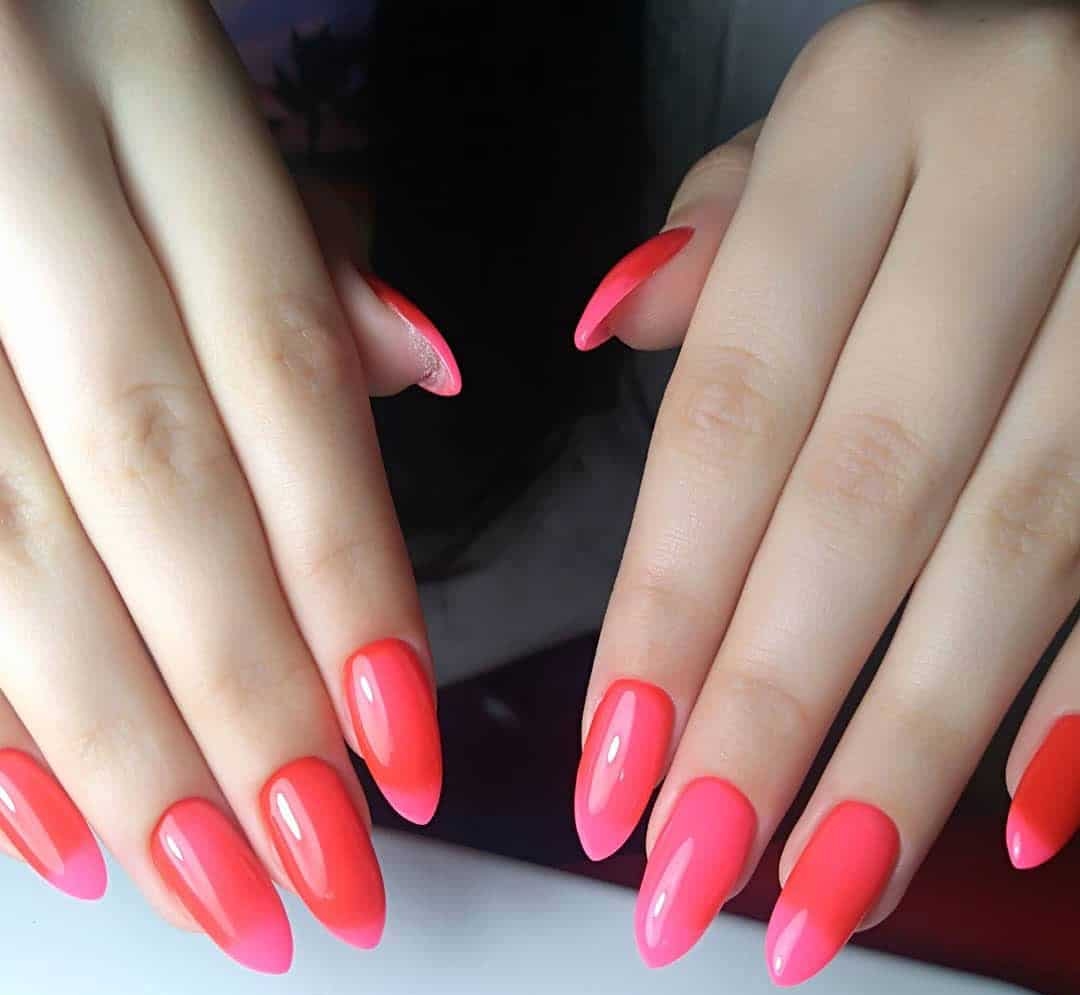
Now you know all the secrets of how to make nails with gel polish perfectly. The main thing is not to be afraid to experiment, because the process of creating a manicure should bring pleasure first and foremost.
If you have realized that it is easier for you to turn to a professional, at V.O.G DOG SALON+NAILS our wonderful master will be happy to help you create the desired design. To receive a consultation and make an appointment on a day and time convenient for you, contact our hotline at the phone number: +380736067440.
